Wednesday, October 24, 2018

Leafy Lessons

Fall is the perfect time to learn all about leaves, which is just what we did recently! You won't believe the cool science experiments we're able to, just with a few leaves and other everyday household products!


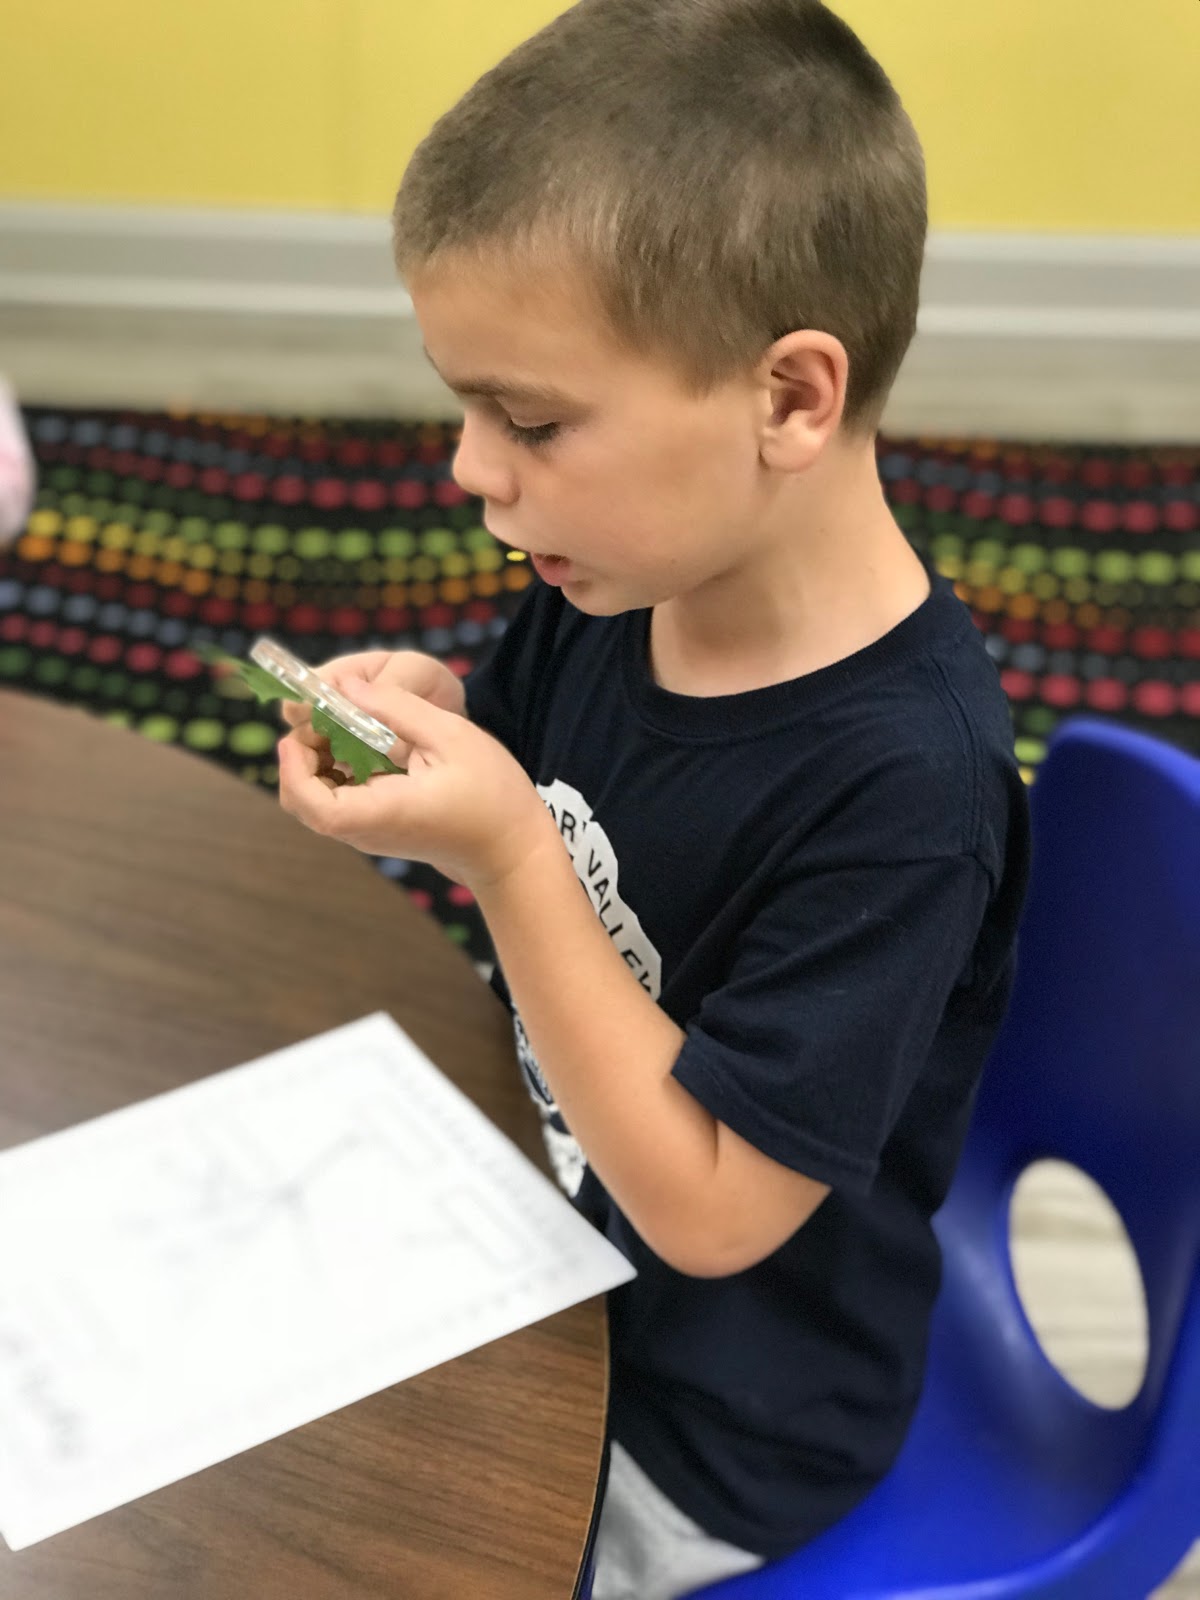
First we investigated real leaves under a magnifying glass and labeled a leaf's parts.




One of our experiments was designed to show how leaves use their veins to transport water and food throughout the leaf. Our Teacher's Helper helped mix dark food coloring into water, and then each student used a pipette to fill their own cup with colored water. With the stem of the leaf dipped into the colored water, the leaf would draw the water up into itself.


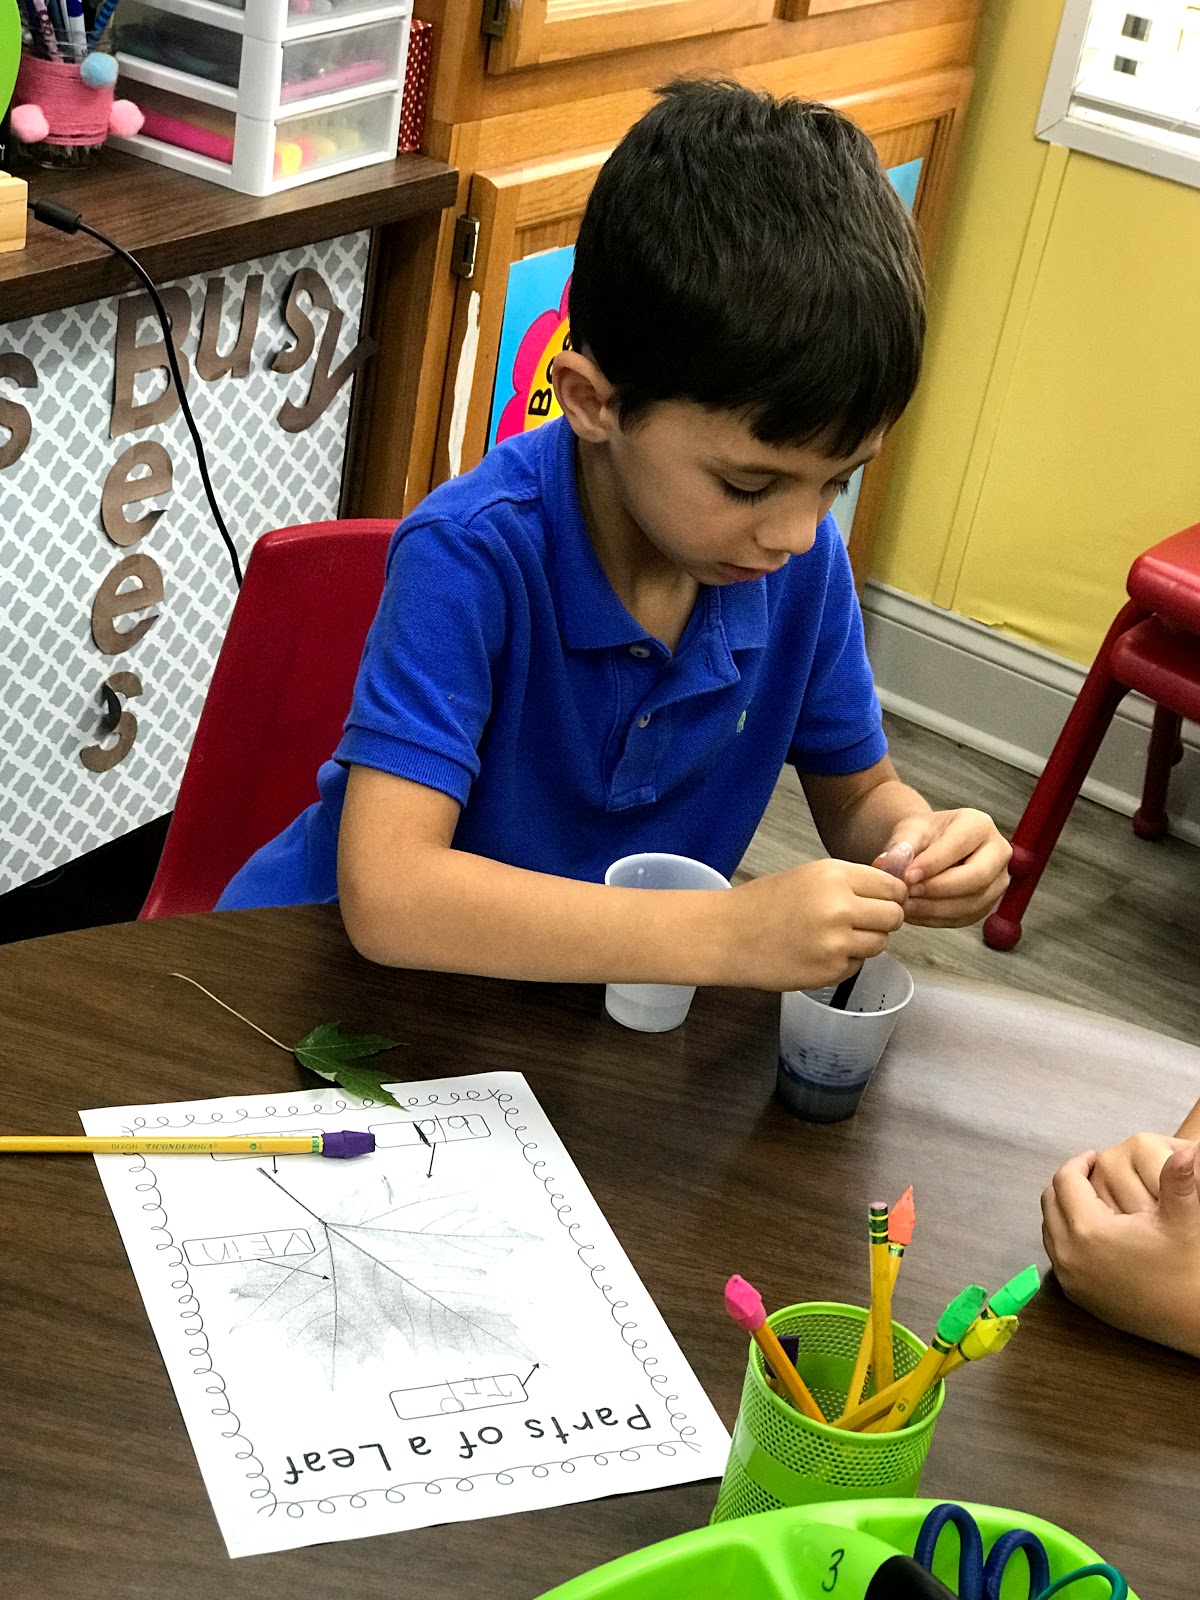


Can you believe we had NO SPILLS?!?!? 😆

We watched our leaves over the course of several days to see the colors travel up the veins, and each day we drew a picture of what our leaf looked like. Some worked better than others, but it was still a good lesson in tracking results from day to day.


Our next activities centered around chlorophyll. We learned what it is, what it does, and why it goes away. We "removed" chlorophyll from laminated paper leaves that had been colored with green dry erase marker, resulting in colorful fall leaves ... and amazed students!

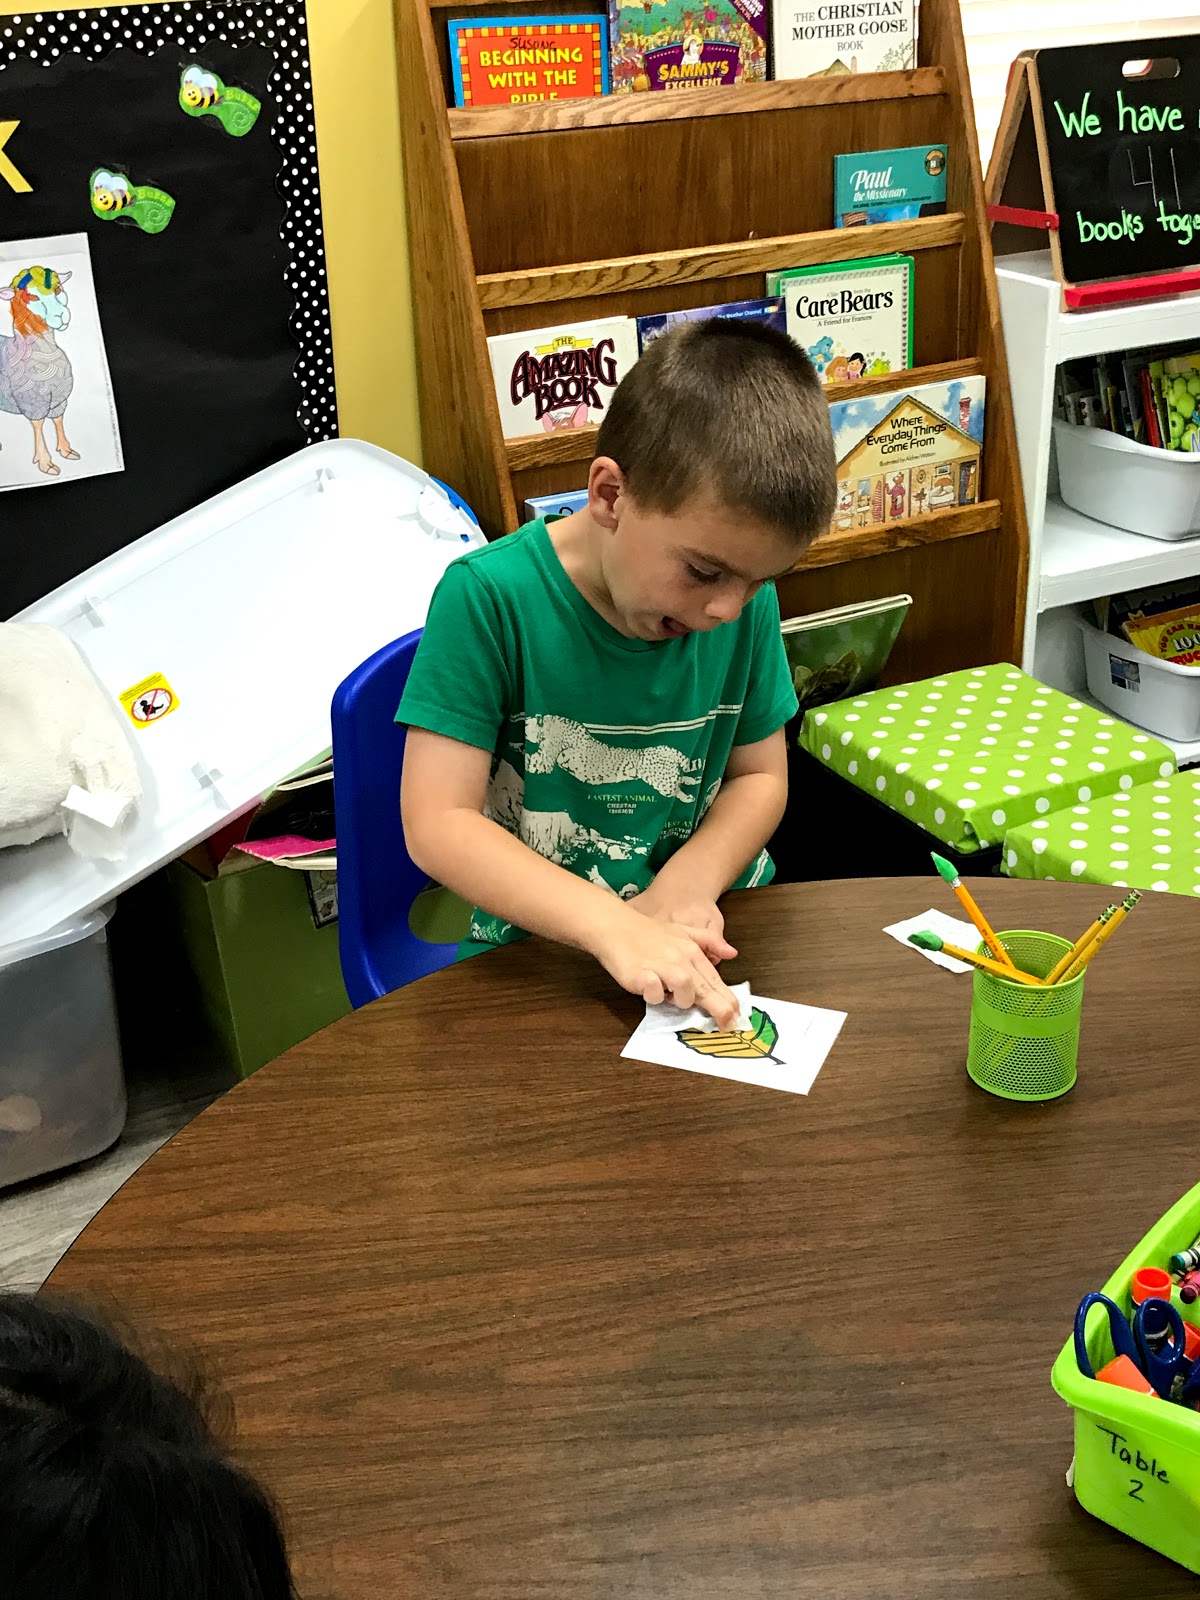


Then, we removed chlorophyll from real leaves! We headed outside and picked one leaf off a tree on the playground. Once we were back inside, we crumbled our leaves and placed them into a small cup. Using our trusty pipettes, we covered the leaves in rubbing alcohol and gently laid a strip of coffee filter over the edge of the cup, making sure it touched the liquid.


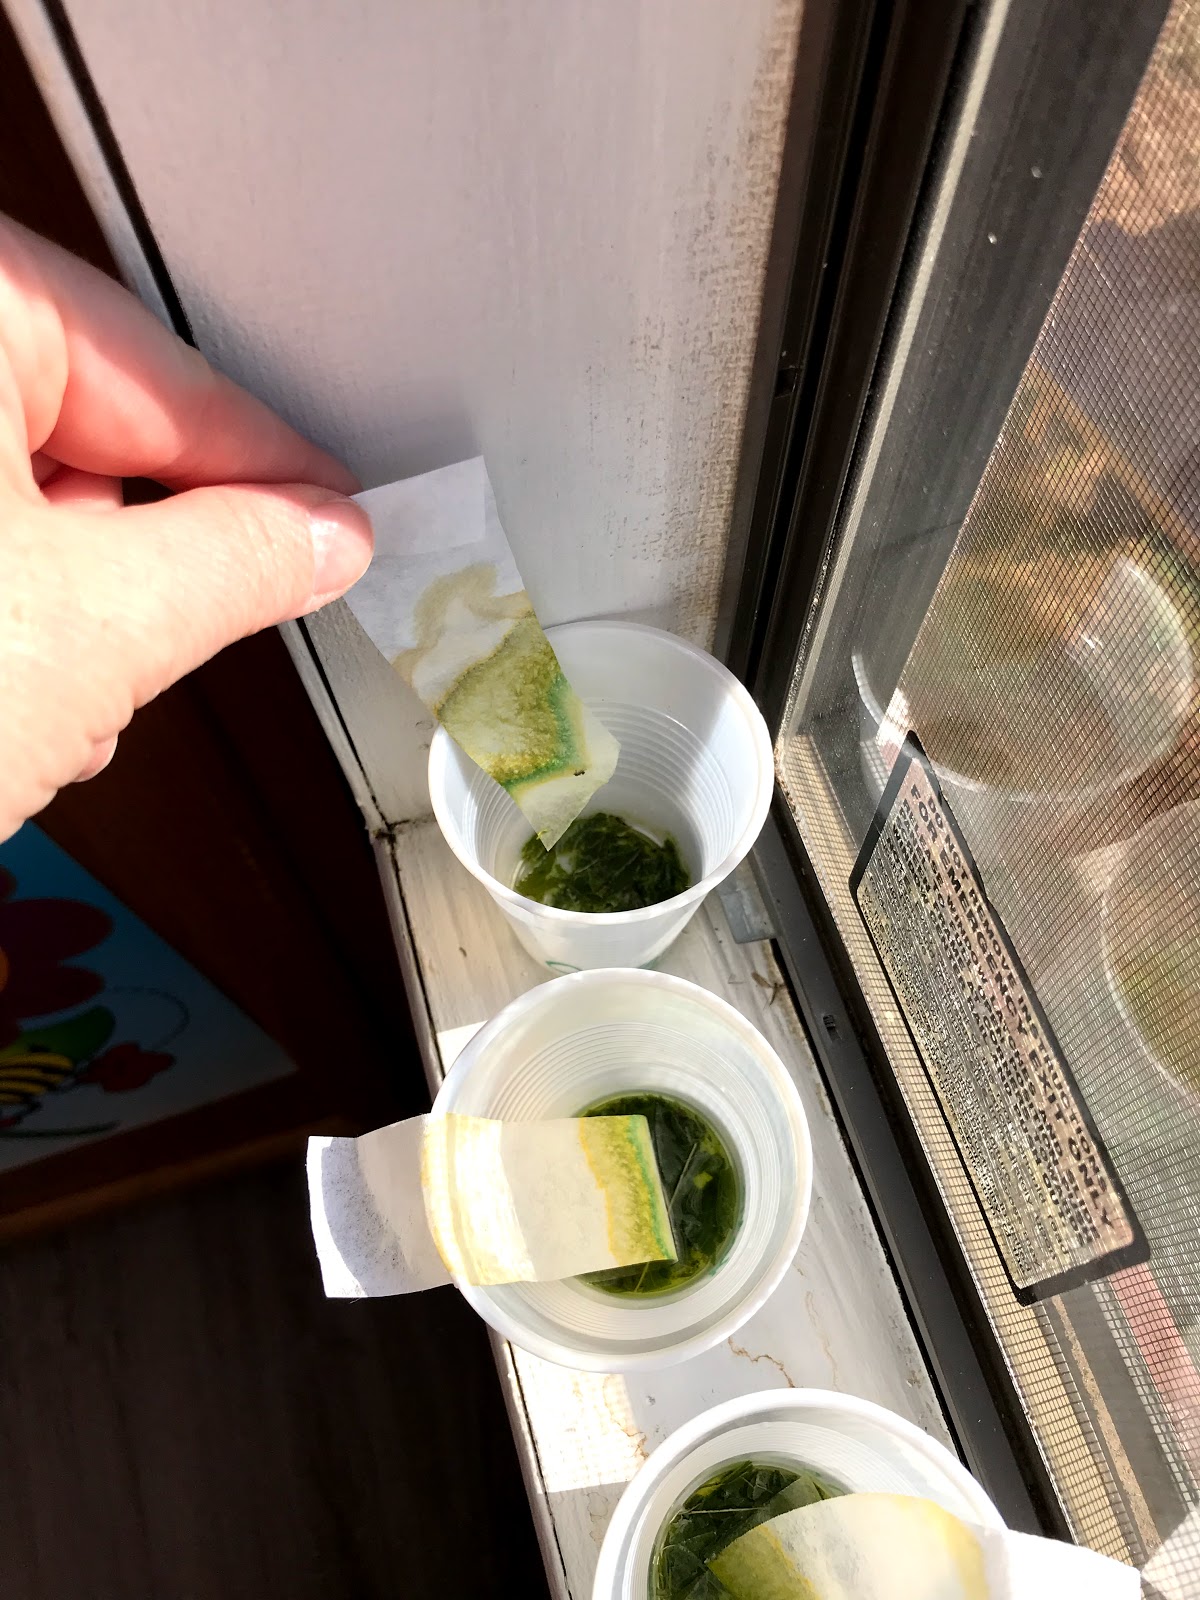
 The next day, our filter strips had turned green!


How cool is that?!? Even kindergartners can do something as fancy as extracting chlorophyll from a leaf!

Thursday, September 27, 2018

Apples, apples, everywhere!

We had a blast with a recent science unit that was all about apples! We studied the various parts of an apple, discussed their different colors, and learned about how fruit grows from seed to blossom to harvest. But we saved the two best activities for last -- we held a taste test and then made apple volcanoes!

Red, green, and yellow ... which do we like best?

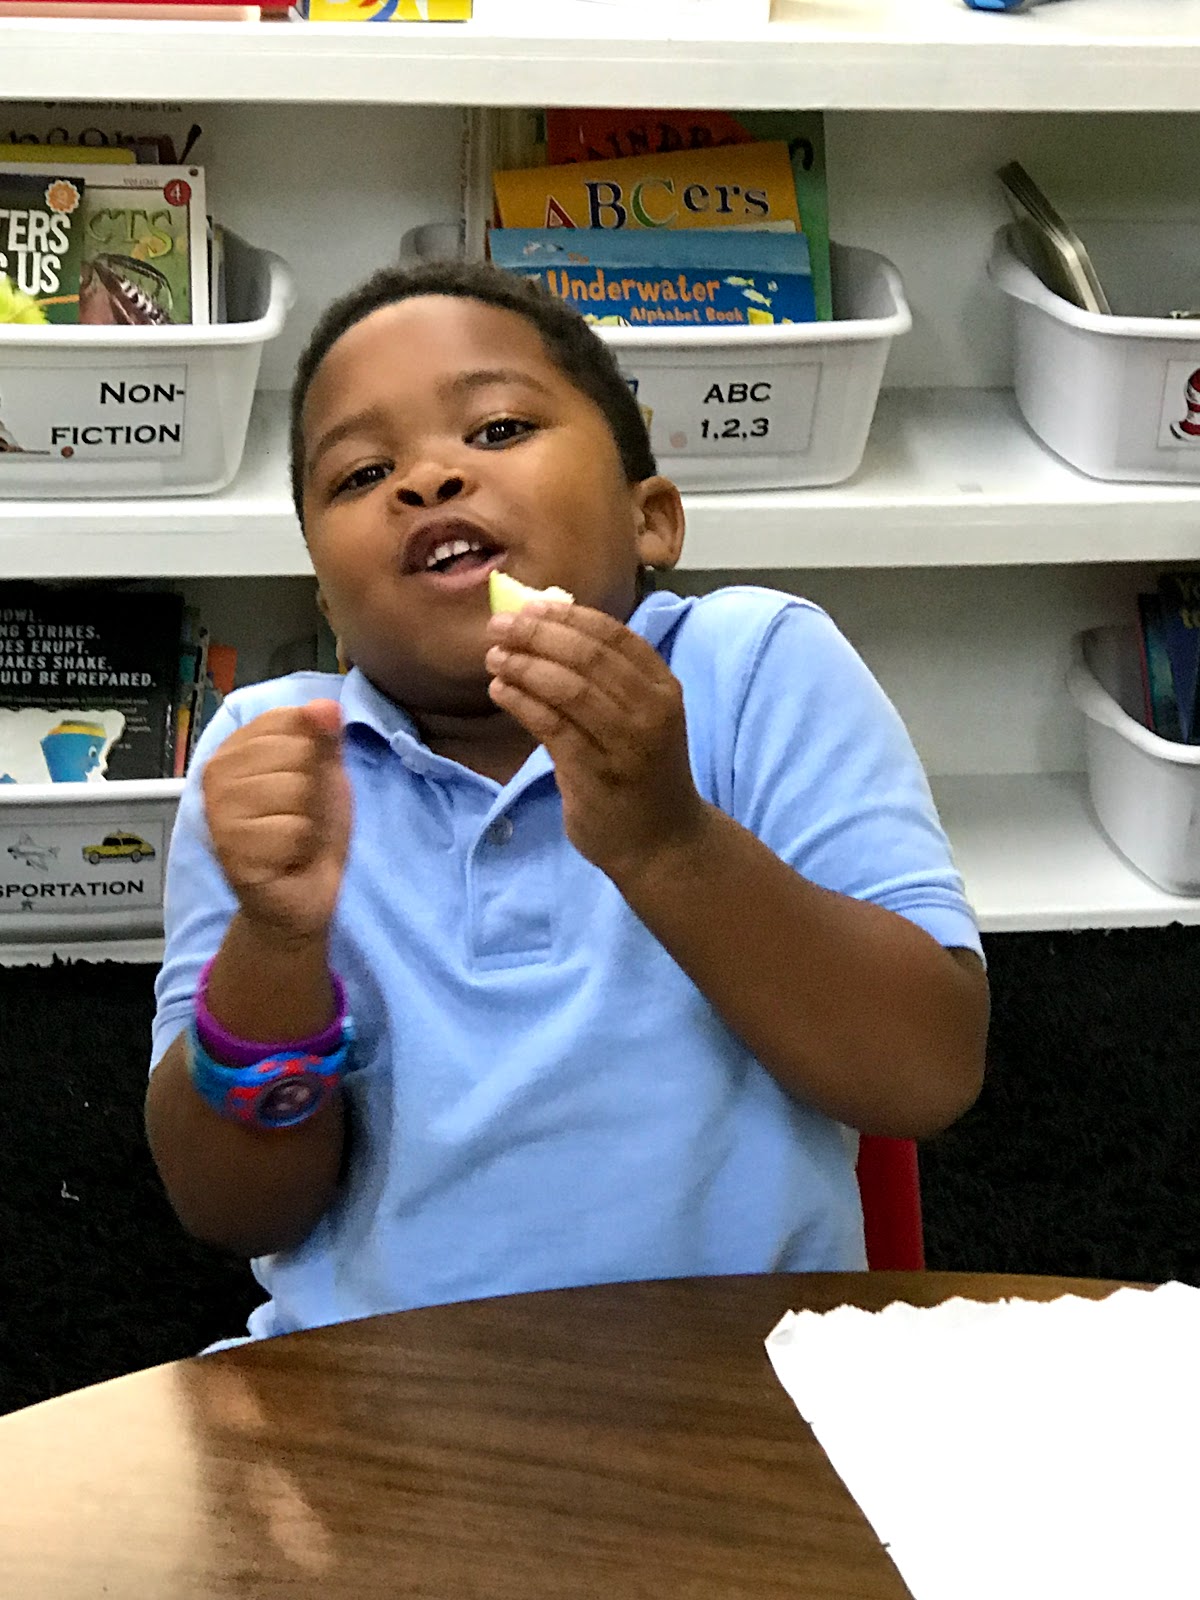
We observed visual differences between the various colors, even measuring them to see which was biggest, and we noted these observations on a Venn diagram. Then it was time to taste!! Each student got a small wedge of each flavor.


Not everyone liked the apples, but many students asked for seconds!

Once we'd tasted all three, the students voted on which color they liked the best. We incorporated a lesson in graphing to determine which variety was the most popular.


It was a tie! We liked reds and greens equally!

We used leftover apple cores to do a little apple stamping and painting. The next day, our awesome substitute showed us how to make apple volcanoes. This is basically the vinegar/baking soda chemical reaction, but doing it inside a core-less apple made it more fun. The students loved getting to pour their own ingredients into the apple, and they learned if they poured a little at a time, they had enough liquid to repeat the experiment multiple times! Self-control pays off! 😁


Who's hungry after seeing all of these yummy apple activities?!? 😉


Friday, September 21, 2018

Hands-on learning

Most of the learning we do can't be brought home; we do lots of hands-on activities that make learning fun. Here's a look at just a few of them ...

These number lines are simple -- just a bead strung along a pipe cleaner taped to a colorful number line -- but they help students begin to achieve "number sense," a better understanding of numbers' connections to each other and ways to apply this knowledge. We partnered up and had fun moving the bead from number to number and noting which numbers came before or after the assigned figure. This particular activity also addresses multiple learning styles, primarily visual and kinesthetic learners.


Mrs. Shepard and Mrs. Viall both have a lot of homemade learning games, including these which asked the students to match upper- and lowercase letters or beginning sounds.


Working with clothespins also helps strengthen fine motor skills!


This simple letter treasure hunt was fun too, and you can easily duplicate it at home. We wrote upper and lowercase letters onto a large poster, but you could use paper. Call out a random letter and have your child locate it. They can cover it with a small object (we used decorative erasers) or circle it with a pencil or marker.


Even our substitute teachers excel at hands-on learning ... check out these fun activities Mrs. Shepard's sub brought in last week!


This key activity was the students' favorite! They had to find the corresponding lowercase letter, the key attached to which would open the lock! How cool is that? Anyone want to donate a bunch of padlocks and keys to K5? 😉